Which Selfies Work Best for AI Headshots and Avatars
How to take selfies that give better AI headshots and avatars: light, angle, distance and expression, plus mistakes that hurt the likeness.
By Alperen Ciftlikci5 min read
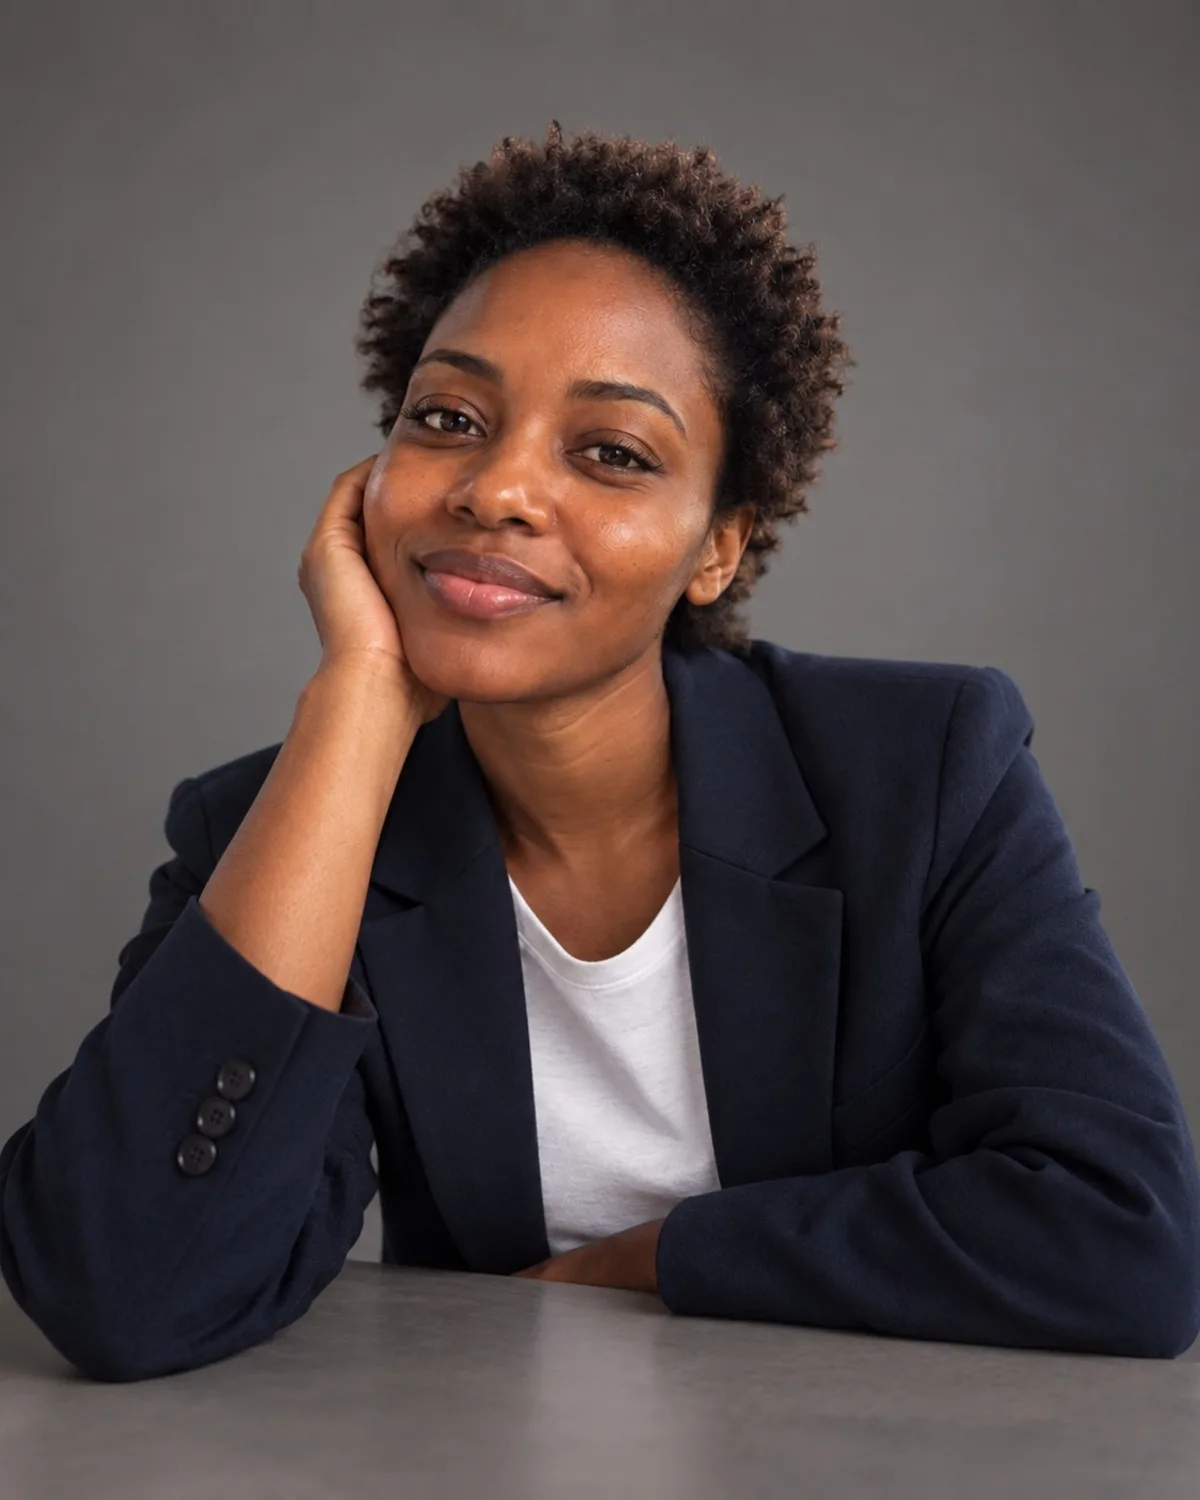
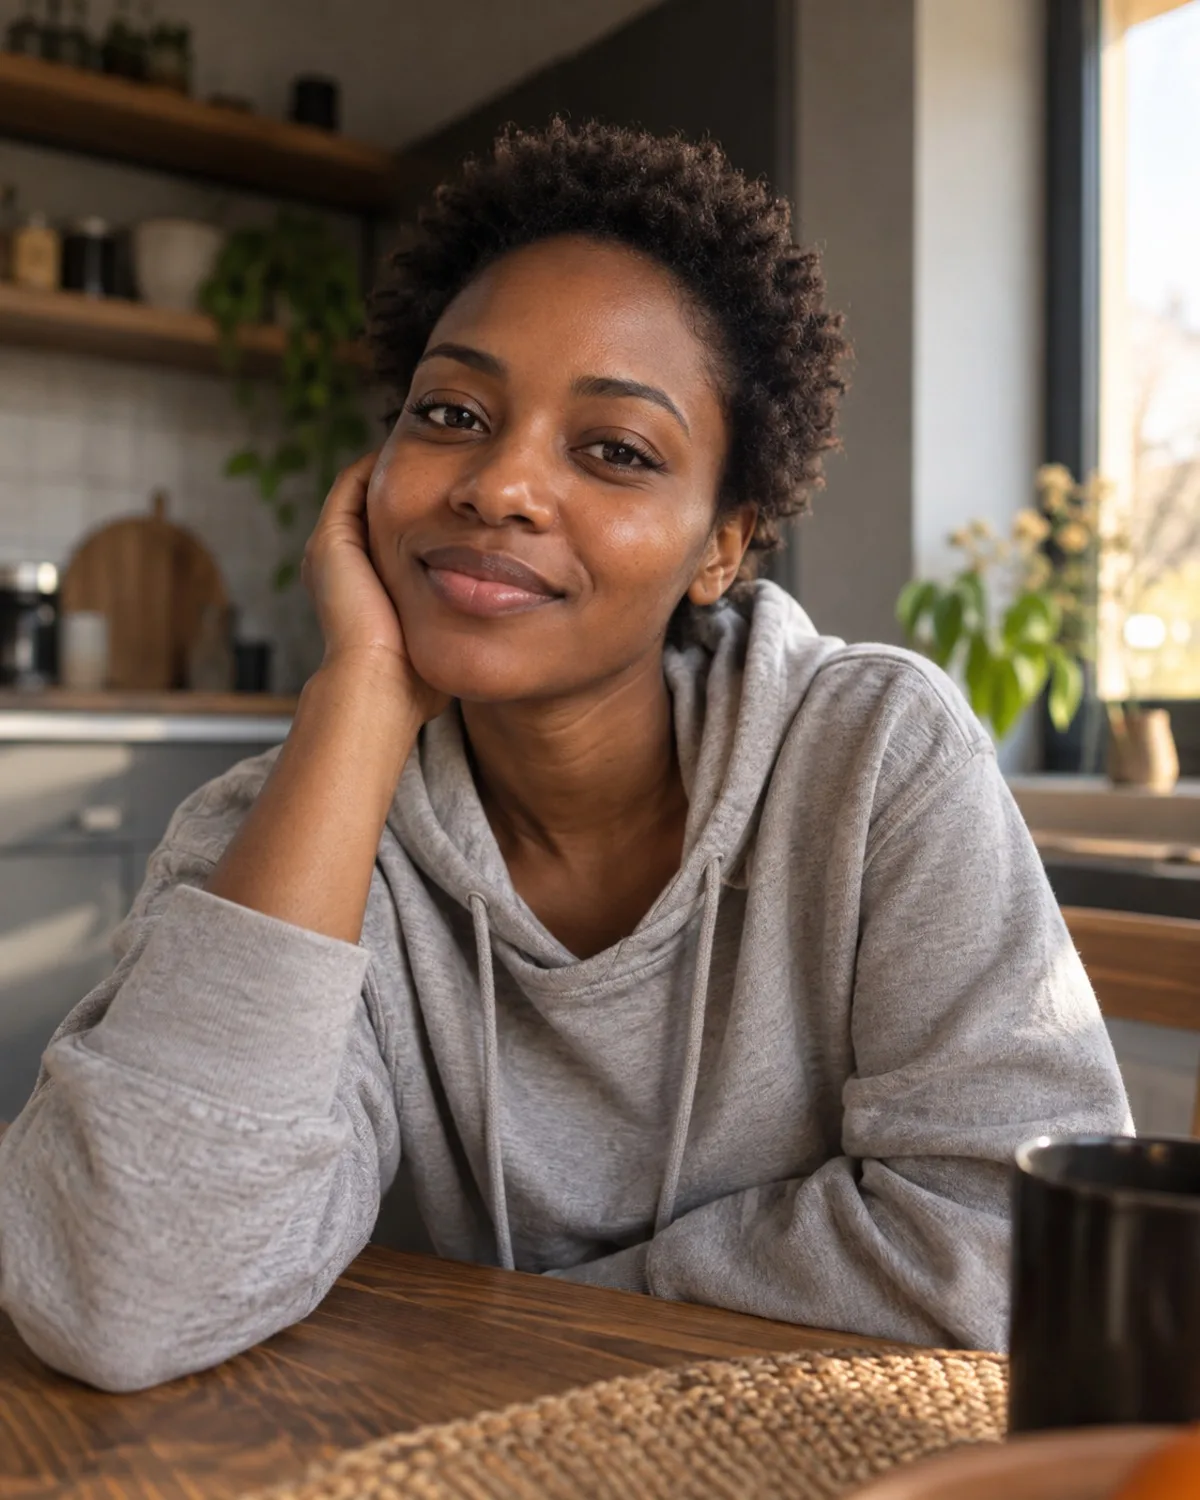
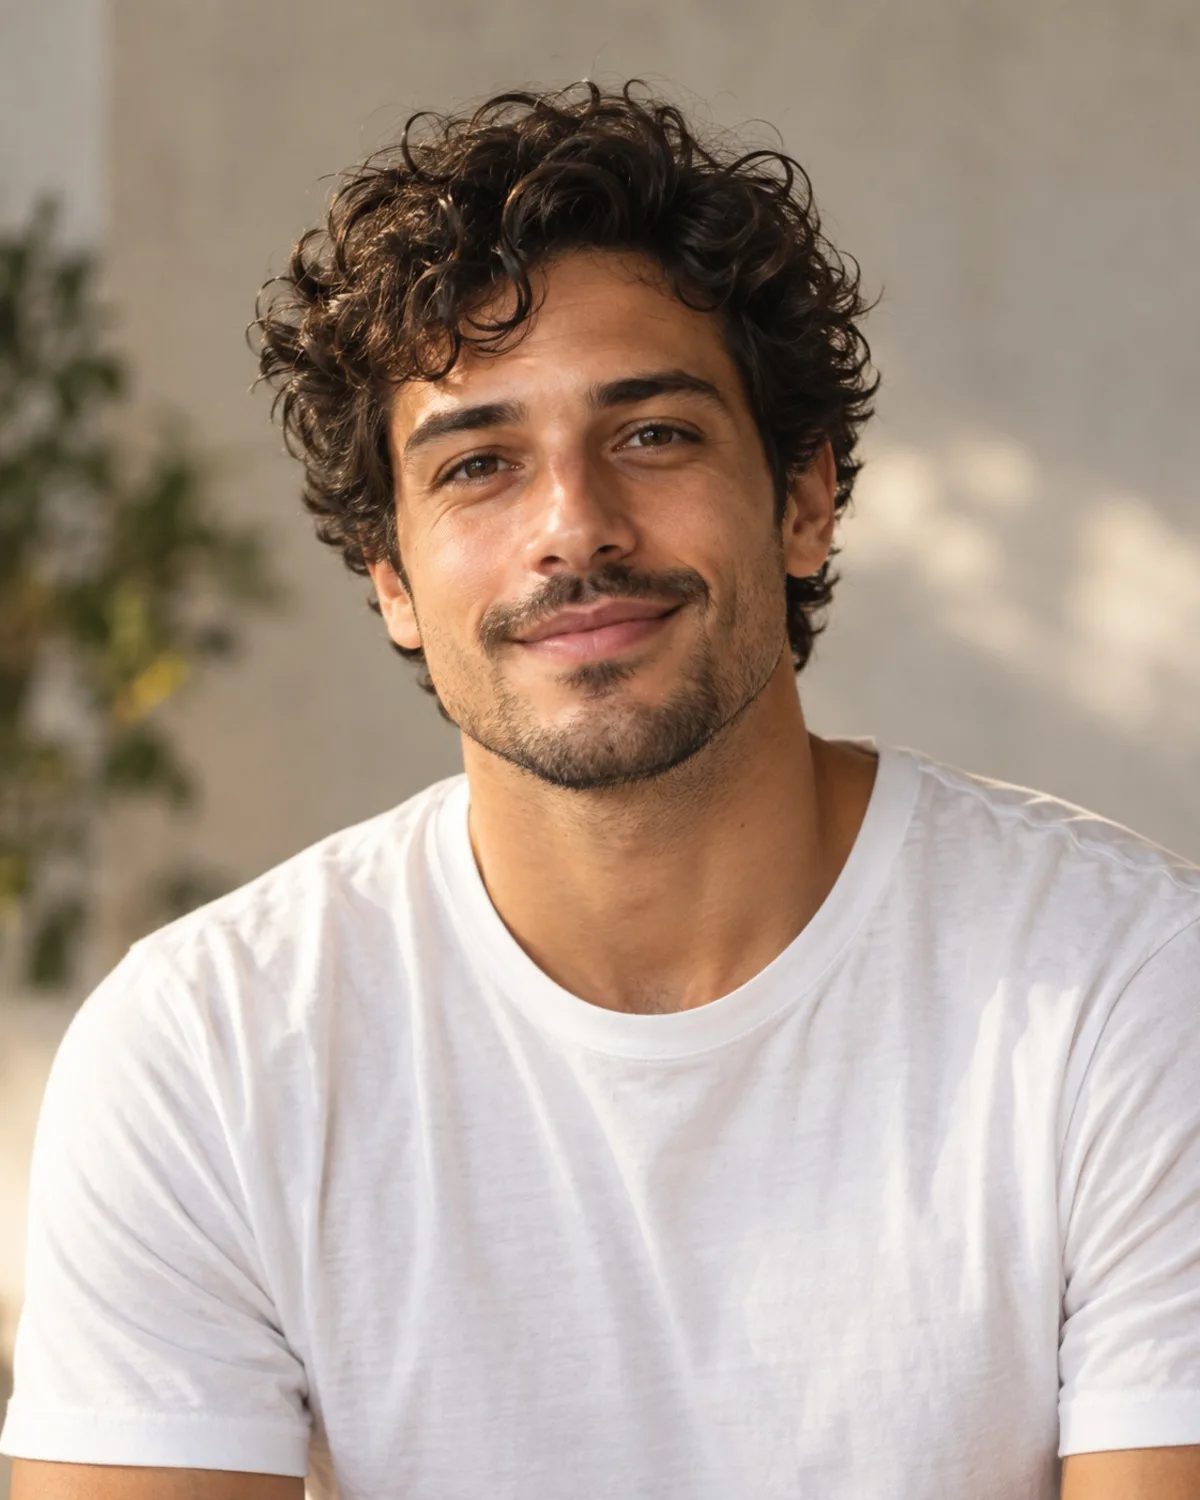
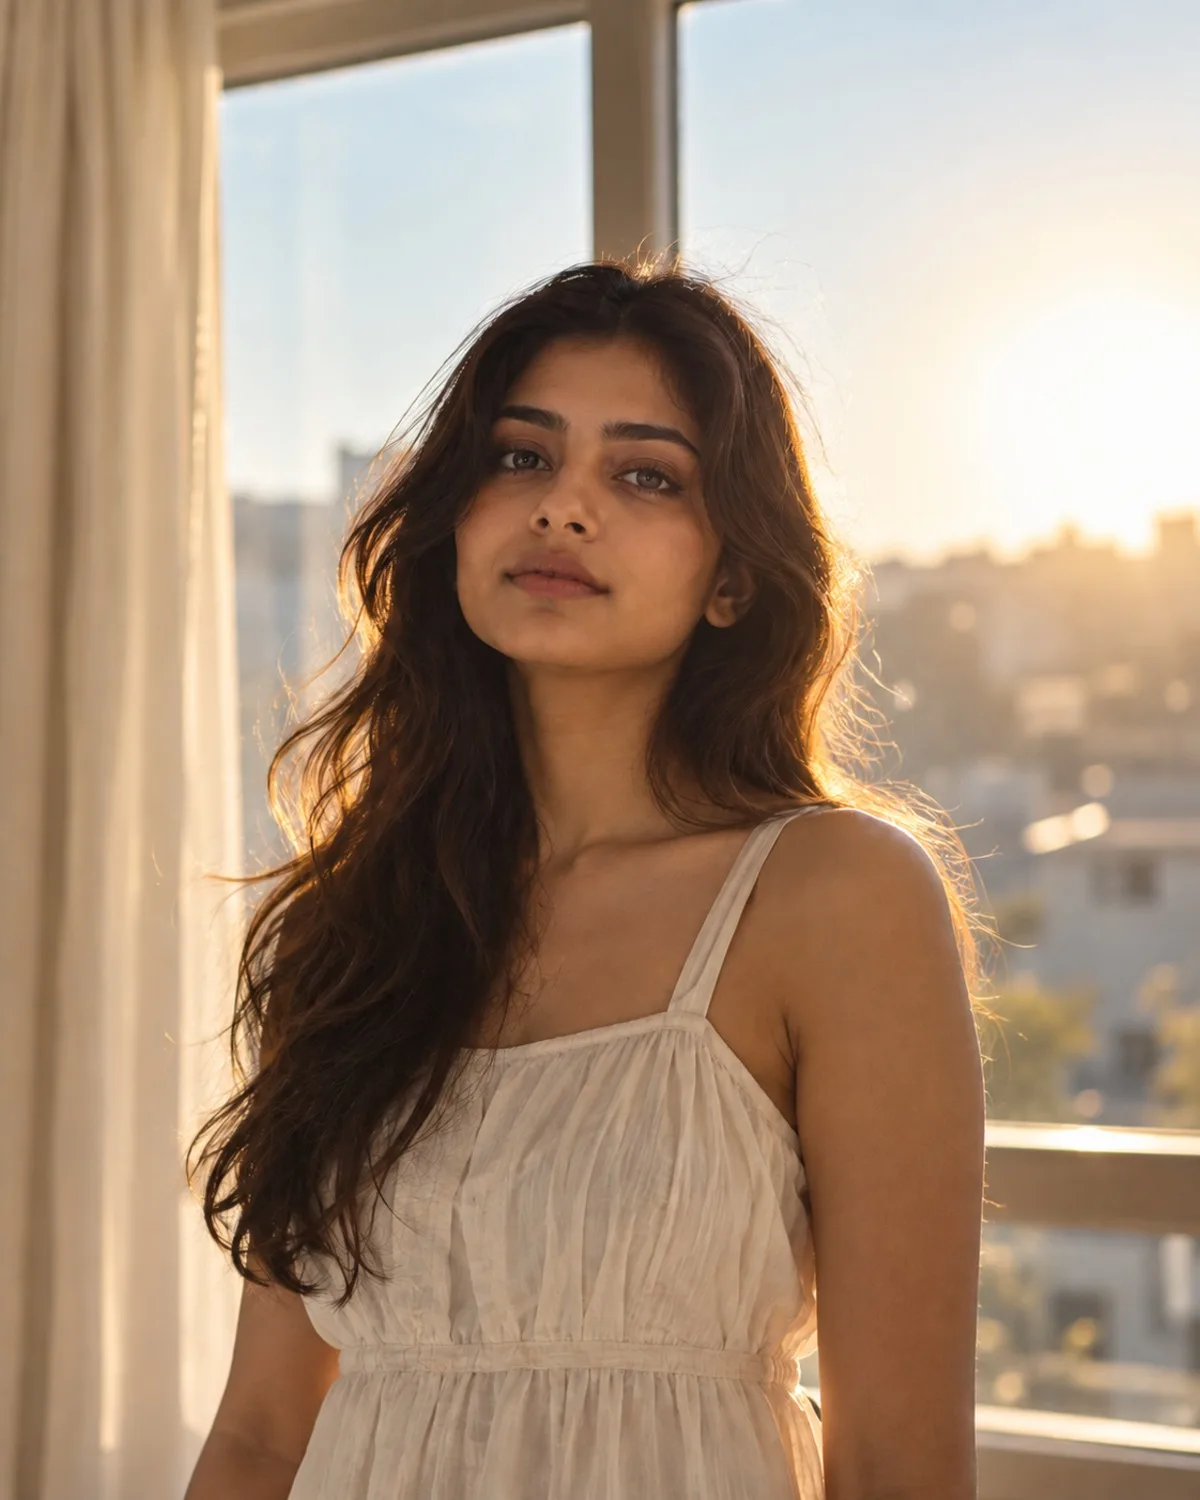
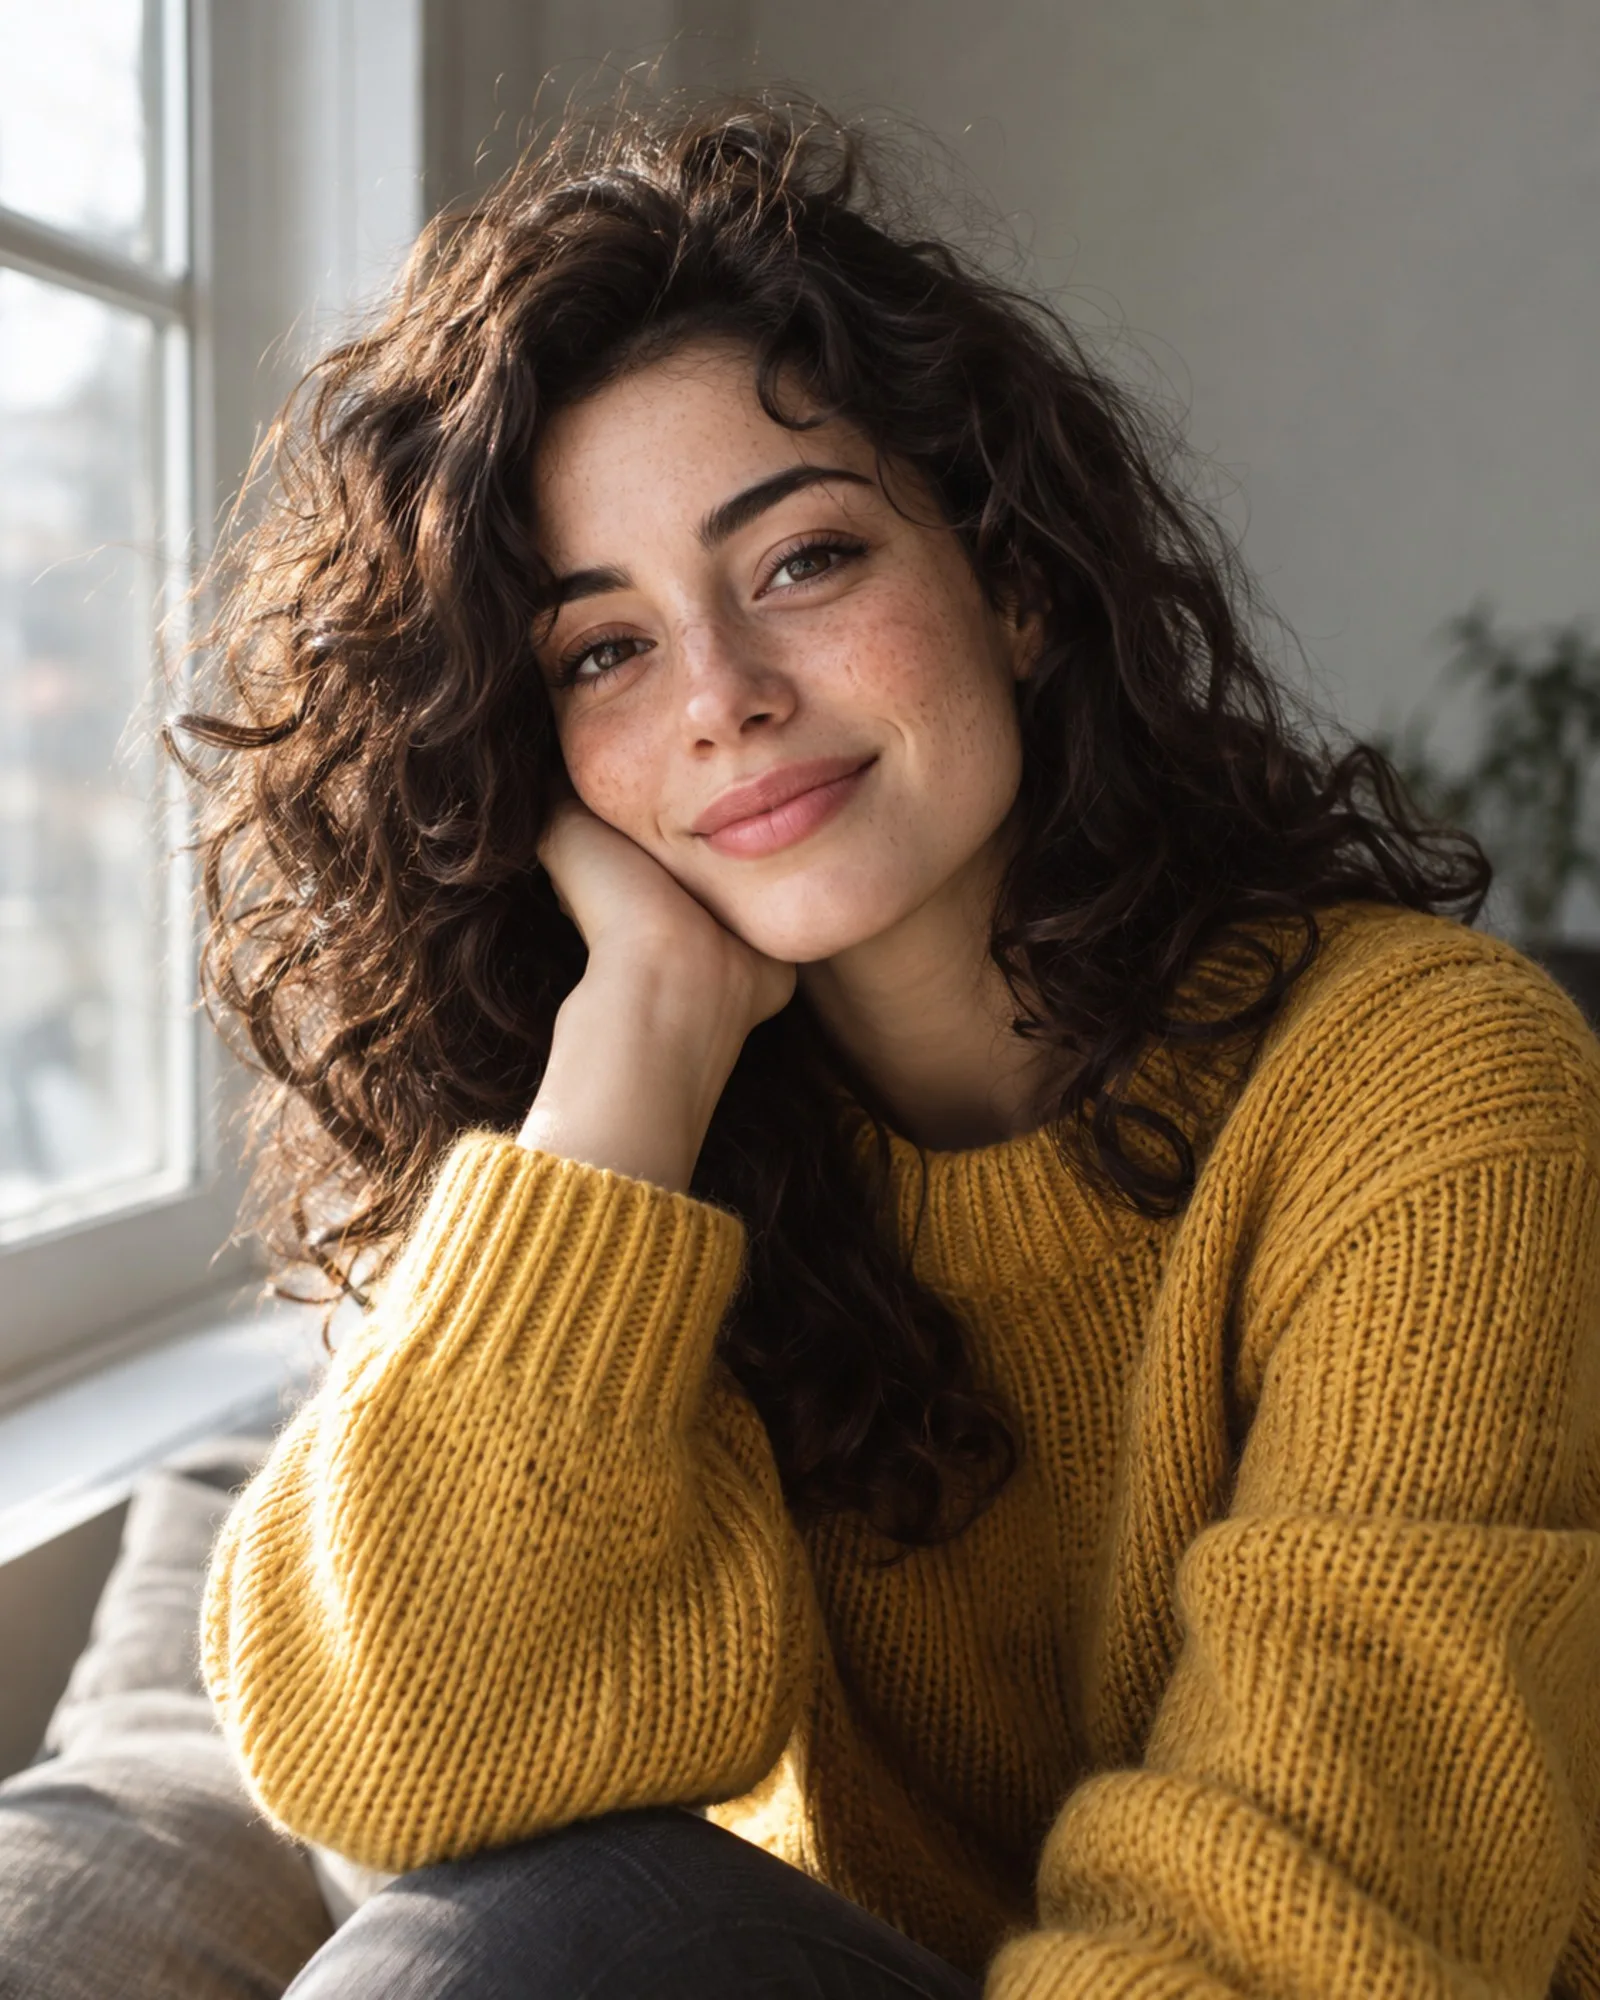
The best selfie for an AI headshot or avatar is sharp, evenly lit and taken straight on, with your whole face visible and nothing covering it. AI portrait tools keep your real facial features and change everything around them, so the clearer your face is in the original, the more the result will look like you.
Below is a practical checklist you can follow with any phone, plus the mistakes that most often lead to disappointing results.
Why the input photo matters so much
Tools like Professional Headshots and AI Avatars are designed to preserve your identity. They replace the clothing, background, lighting or the entire world around you, but they rely on your selfie for the shape of your face, your skin tone, your hairline and your expression.
That means the AI cannot recover what the camera never captured. A face in deep shadow, a blurry eye or a nose distorted by a wide-angle lens will carry through into the result.
The selfie checklist
Light: soft and from the front
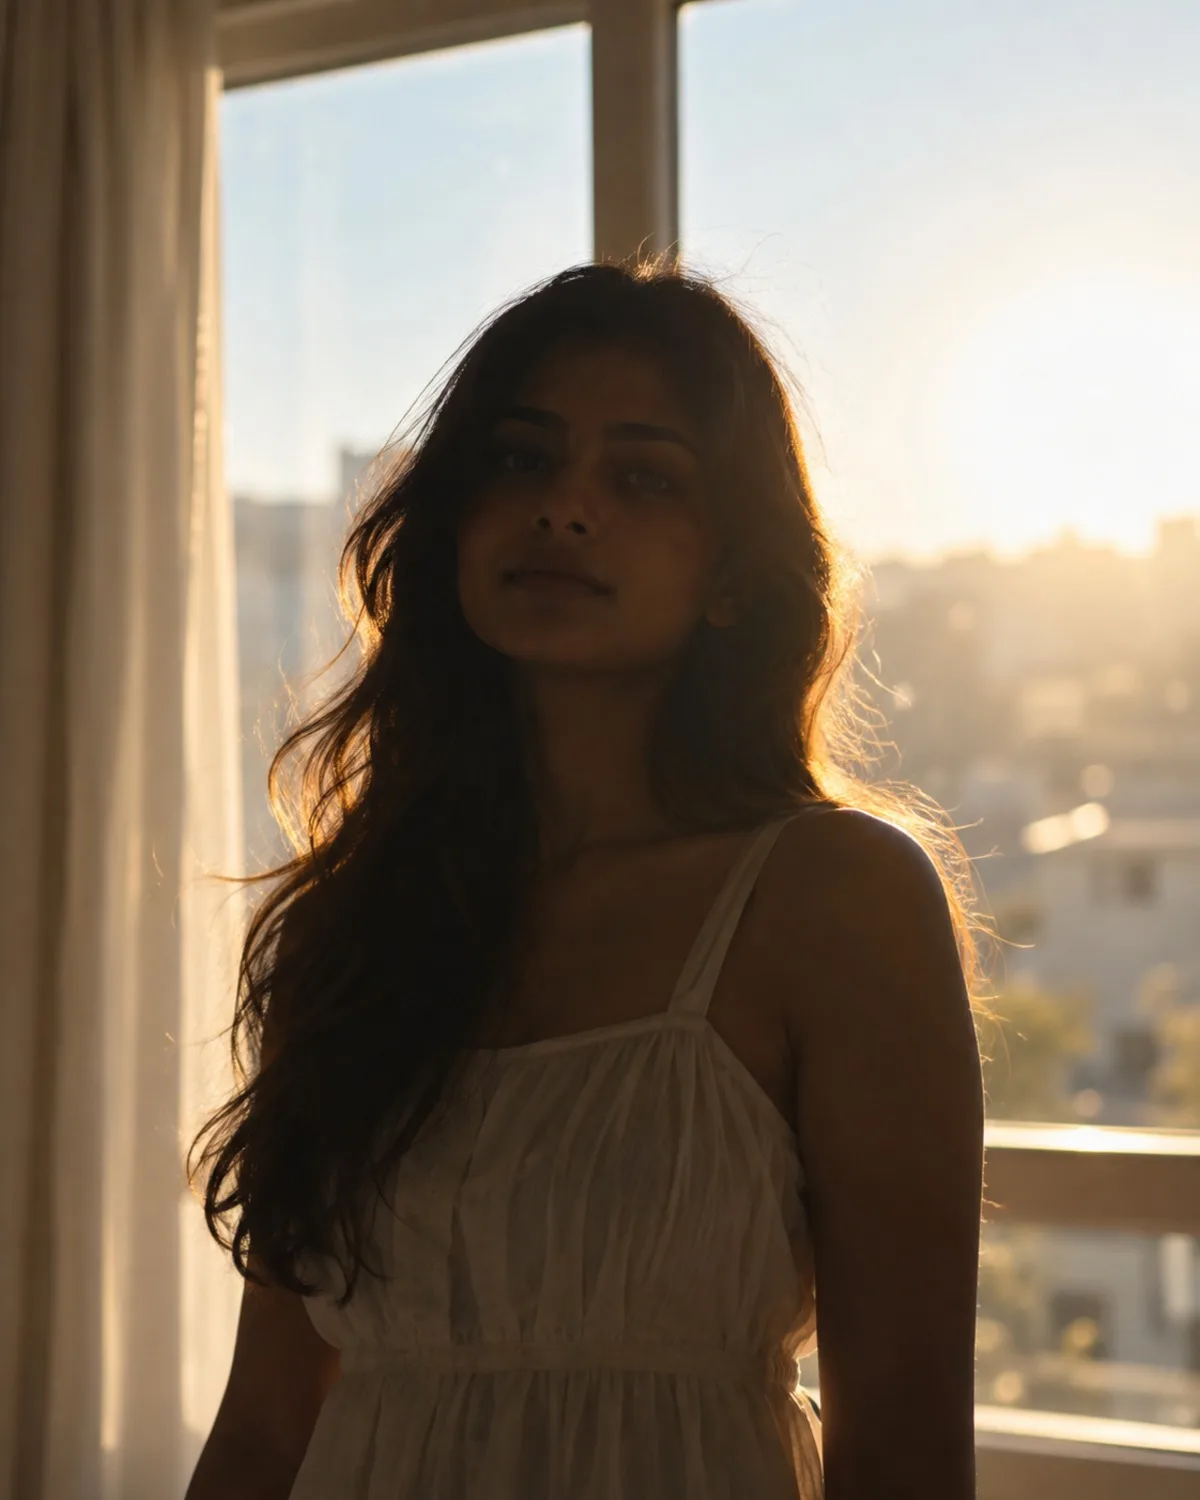
Stand facing a window during the day, with the light falling evenly across your face. Overcast daylight is ideal. Avoid overhead ceiling lights, which create dark eye sockets, and avoid having a bright window behind you, which leaves your face in silhouette.
If your best photo is a little dark, Lighting & Shadow Fix can lift shadows and remove colour casts before you use it.
Angle: camera at eye level
Hold the phone at eye level or very slightly above, and look straight into the lens. Low angles exaggerate the chin and jaw; high angles shrink the body and enlarge the forehead. A small head tilt is fine, but keep both eyes visible.
Distance: an arm's length or more
Phone front cameras use wide lenses that enlarge whatever is closest, usually the nose. Hold the phone at full arm's length, or better, prop it up and use the timer from a little further away. Include your head and shoulders with some space around them.
Focus: sharp eyes
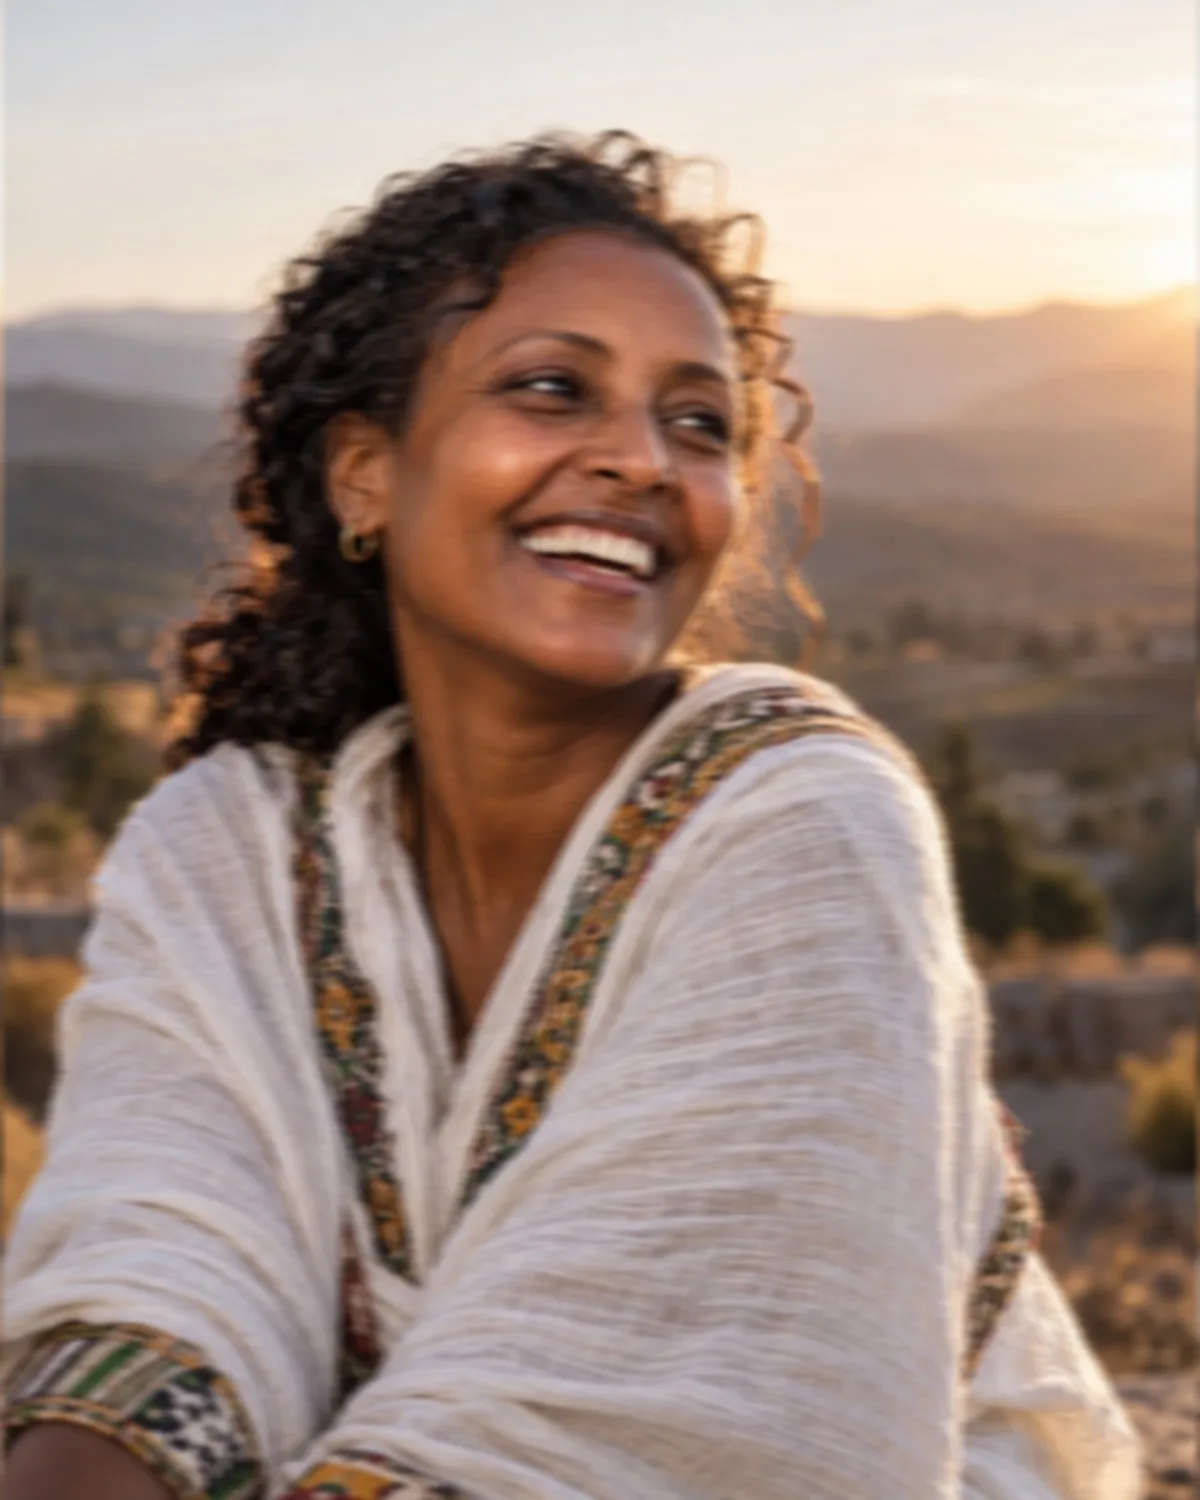
Tap on your face before taking the shot so the camera focuses on it. Check the eyes at full size: if eyelashes and the edges of the iris are crisp, you are good. For a slightly soft photo you cannot retake, Unblur & Sharpen works best on mild to moderate blur.
Expression: relaxed and natural
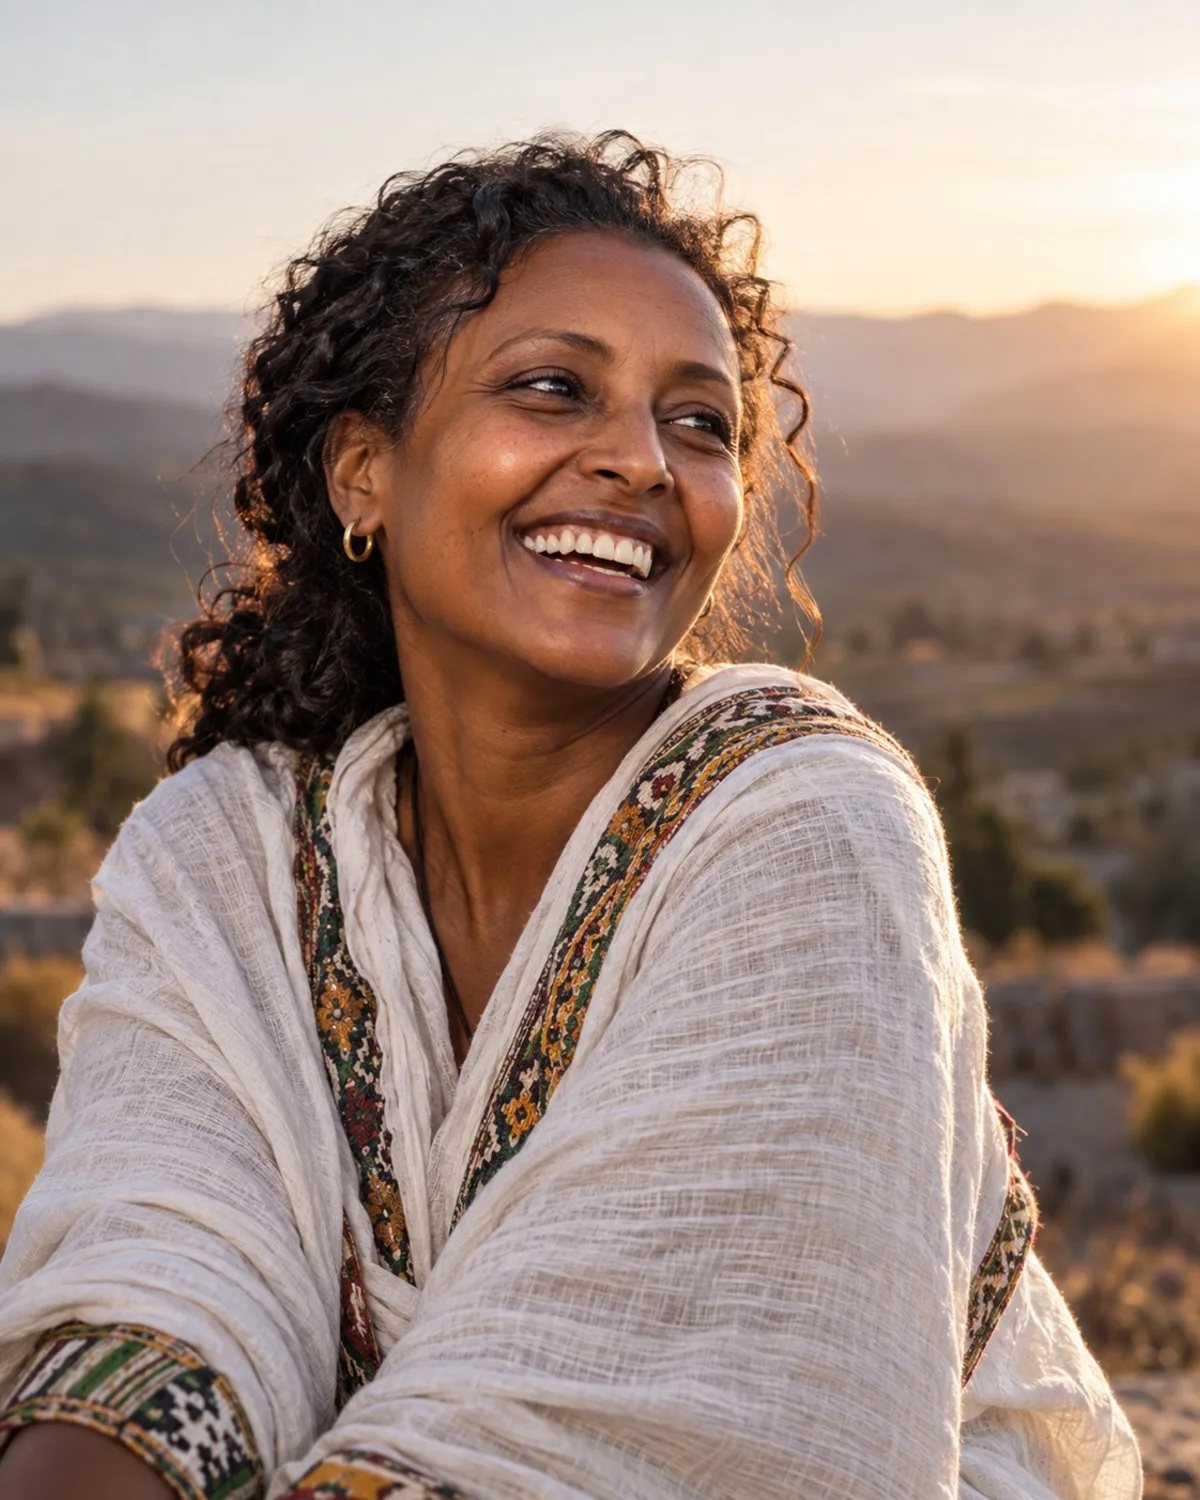
A gentle smile or a calm, neutral expression works best for headshots. The AI keeps your expression, so if you squint or force a grin, that is what you will get. Take several shots and choose the one that feels most like you on a good day.
Background and clothing: keep it simple
A plain wall is easiest, although the headshot and avatar tools replace the background anyway. Clothing matters less for headshots, since the outfit is changed, but avoid anything that covers your neck or chin, such as a high scarf.
Mistakes that make results look less like you
- Beauty filters and heavy edits. Smoothed skin and reshaped features give the AI a different face to work from.
- Sunglasses, hats and hair over the eyes. Covered features are guessed rather than kept.
- Hands covering the face. A hand resting under the chin is usually fine, but fingers across the cheek or mouth can end up merged or distorted.
- Strong side light. Half the face in shadow makes it harder to keep a consistent likeness.
- Tiny crops from group photos. A face cut out of a wide shot is usually too small and too soft.
- Old photos. Use something recent, so the result looks like you today.
Headshots vs avatars: what changes
For headshots, choose your most neutral, well-lit selfie. You are aiming for a realistic professional portrait, so small details like your hairline and skin texture matter.
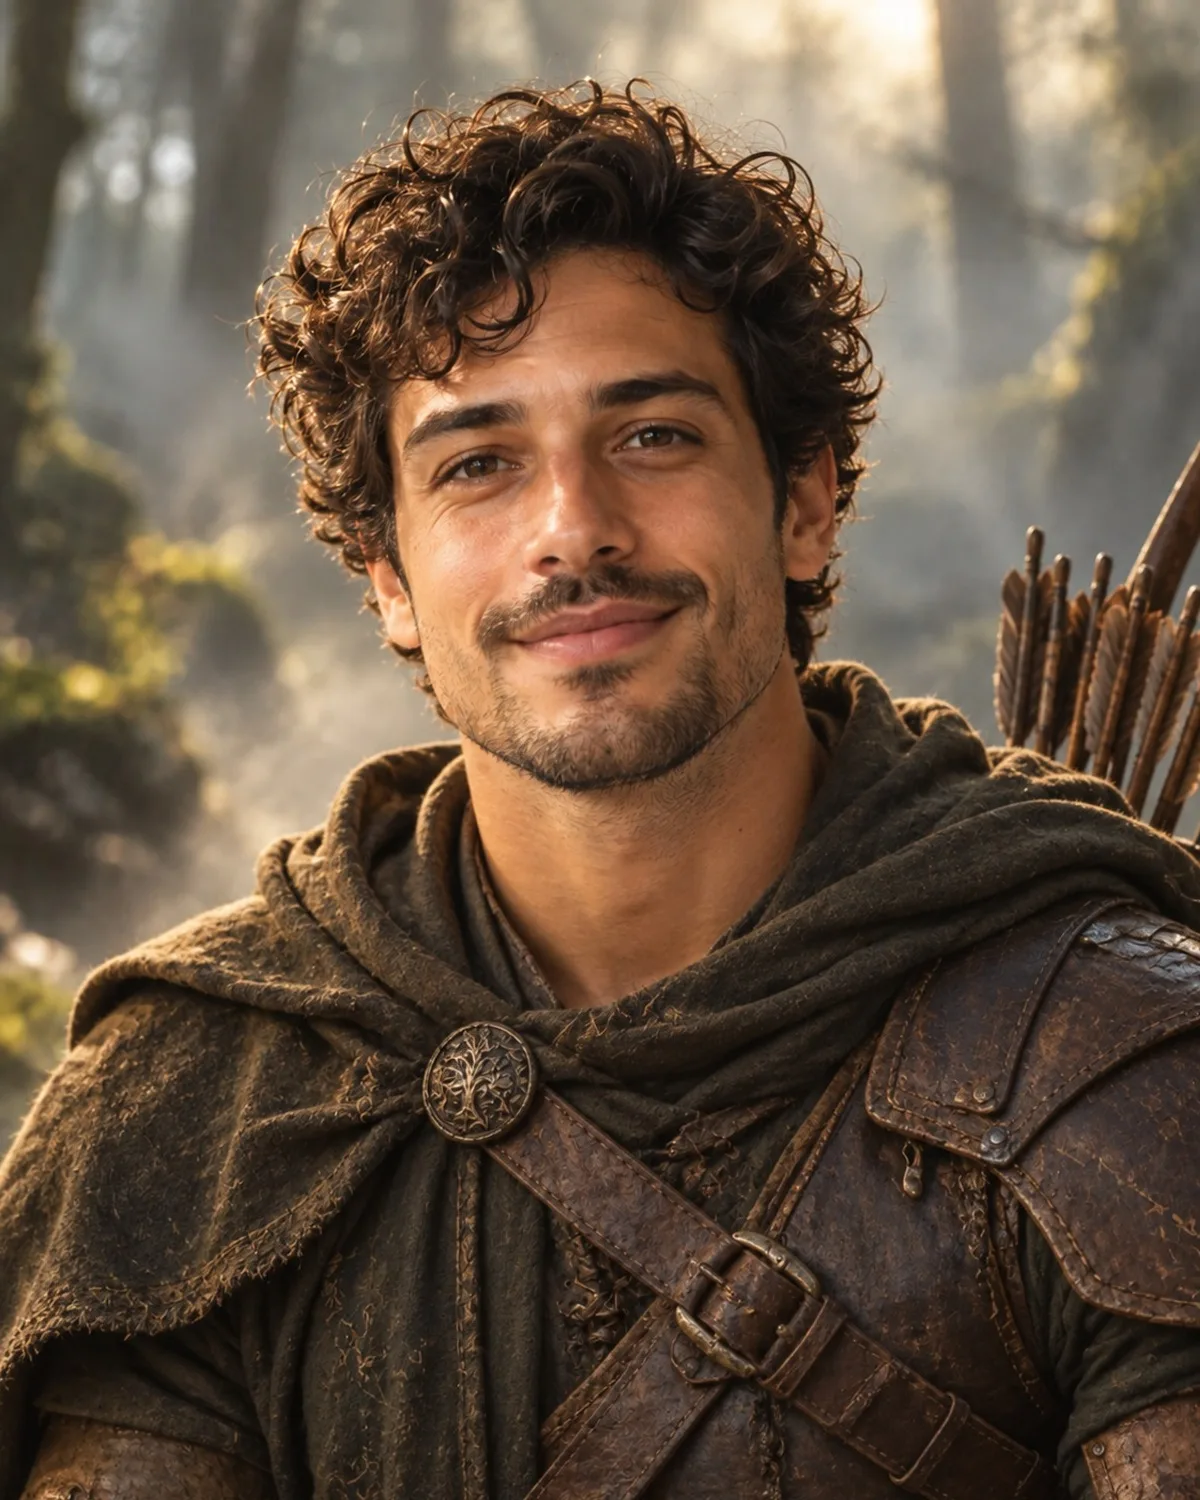
For avatars, the AI builds a full character scene, from a fantasy mage to an astronaut or a cyberpunk runner, while keeping your face recognisable. Expressive selfies can work well here, and a slightly more dramatic angle is fine, but the light and sharpness rules still apply.
Using 1–3 selfies in the headshot pack
The AI headshot pack accepts 1–3 selfies and produces 10 headshots in 10 different looks. If you upload more than one, make them all recent and clear, but vary them a little: one straight on, one with a slight turn, perhaps one in different daylight. Avoid mixing in photos with very different hairstyles or glasses on and off, since that sends mixed signals about how you look.
Only upload photos of yourself. The pack is a one-time purchase at $14.99, and if you would rather test a single look first, the Professional Headshots tool costs 1 credit per image, with 3 free credits on sign-up.
A quick routine you can follow
- Stand facing a window in daylight, with a plain wall behind you.
- Prop your phone at eye level, about an arm's length or more away, and set the timer.
- Take five to ten shots with a relaxed expression, changing your angle slightly.
- Pick the sharpest one where both eyes are clearly in focus.
- Fix lighting if needed, then upload it to the headshot or avatar tool.
For the next step, read how to get an AI LinkedIn headshot.
FAQ
Can I use a photo taken by someone else?
Yes, and it often works better than a selfie because the camera is further away and less distorted. It still needs to be a photo of you, with your face clear, sharp and evenly lit.
Should I wear glasses?
Wear them if you wear them every day and want them in your headshot. Choose a shot without glare on the lenses so your eyes are visible. Avoid mixing photos with and without glasses in the same pack.
Does the background of my selfie matter?
Not much for headshots and avatars, because the background is replaced. A plain background still helps the AI separate you cleanly from your surroundings, especially around hair.
Why does my result not look like me?
Usually it is the input: a wide-angle selfie taken too close, uneven light or a soft focus. Retake the photo following the checklist above, or try a different look, before generating again.