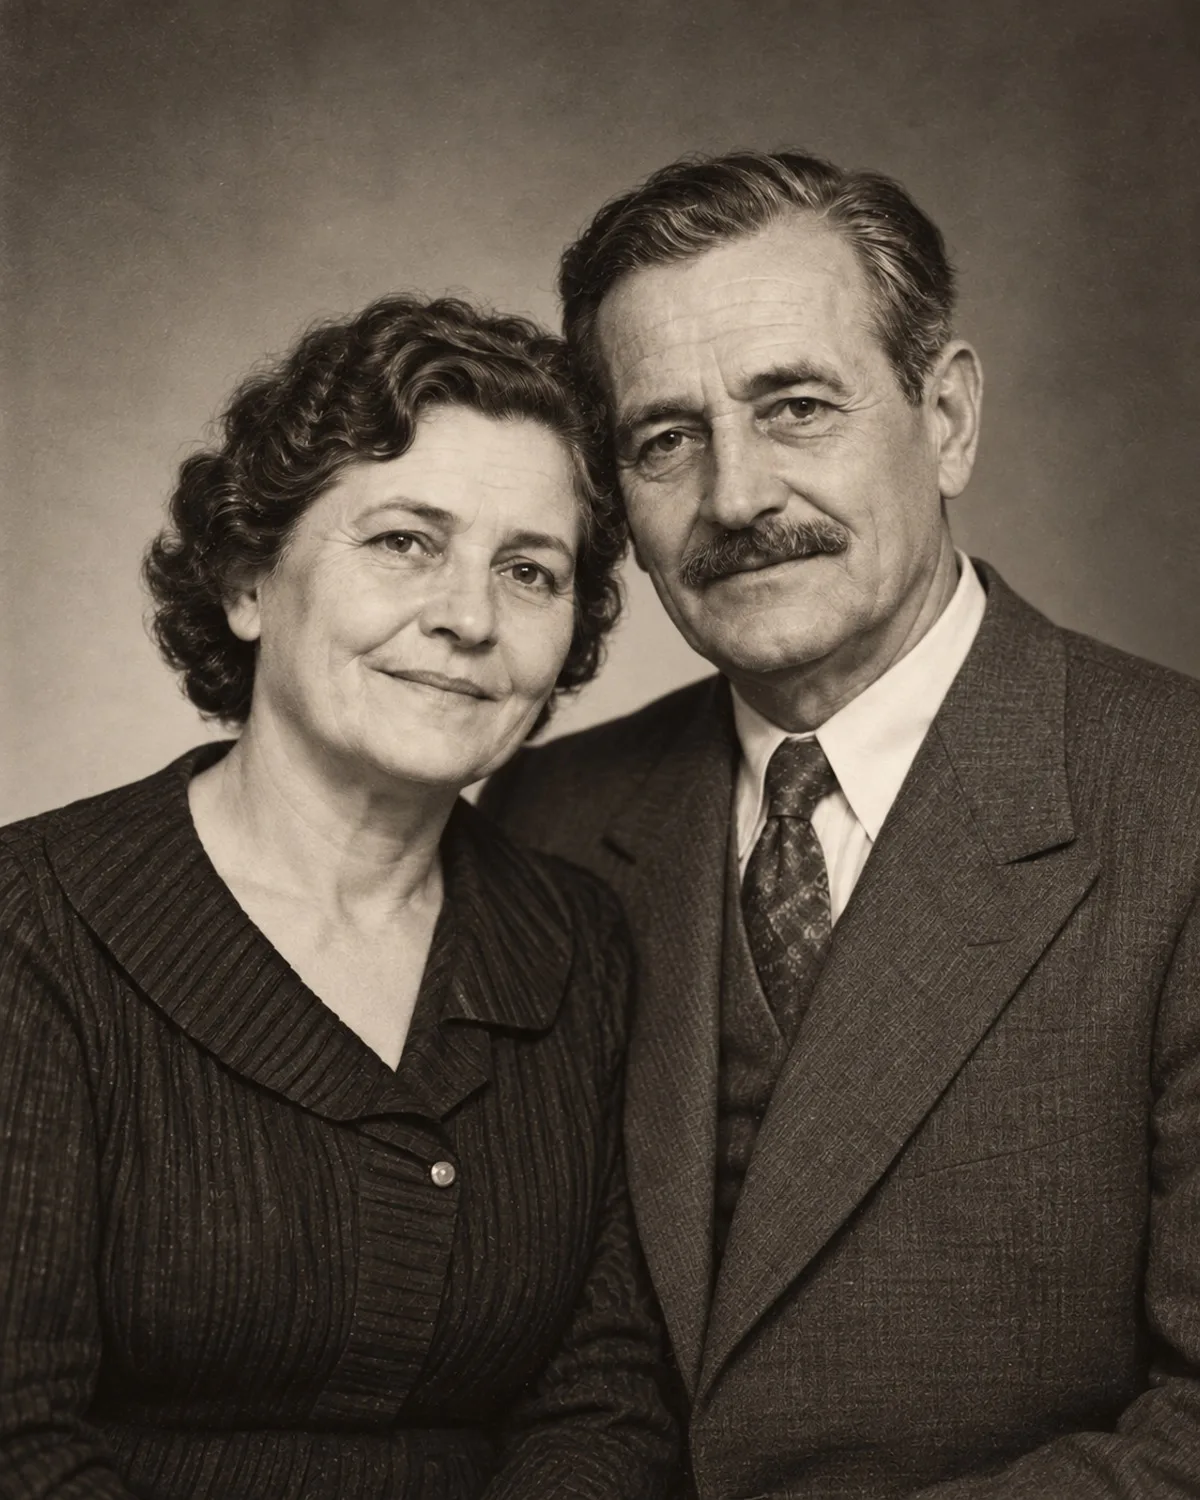
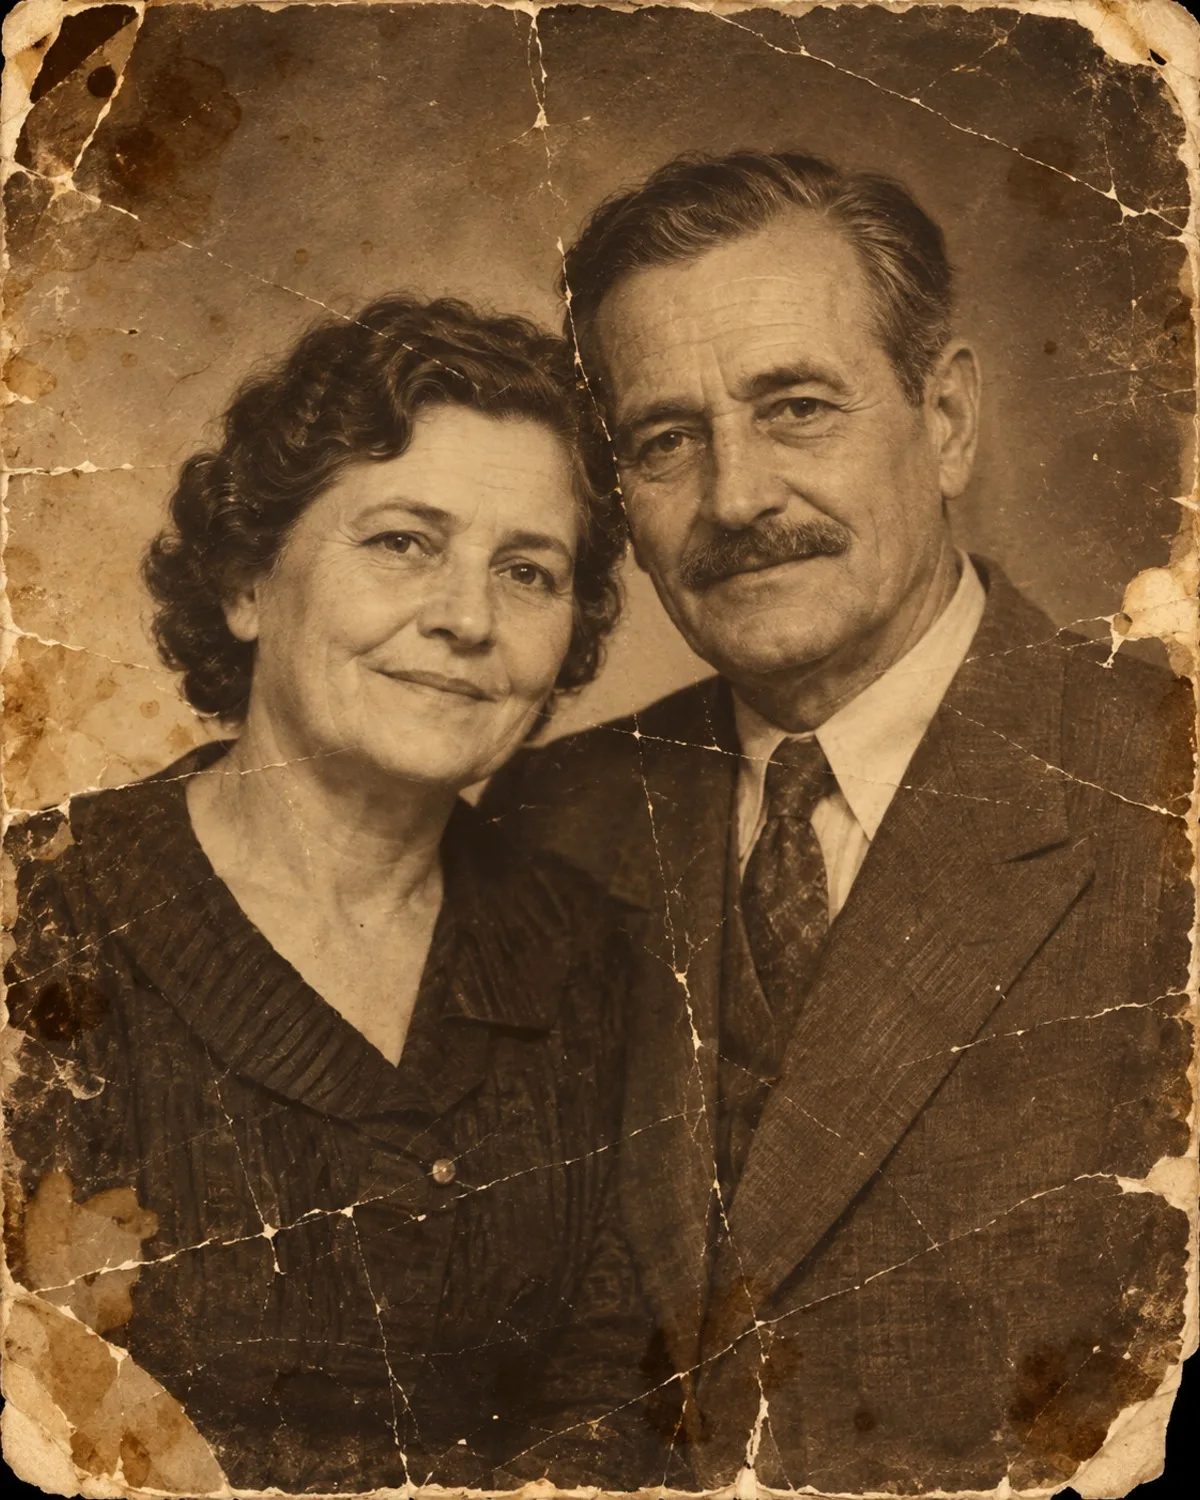
How to Fix a Blurry Photo: Unblur vs Sharpen vs Upscale
Fix a blurry photo by matching the tool to the cause: motion blur, missed focus, low resolution or poor light, and know when to retake it.
By Alperen Ciftlikci5 min read
To fix a blurry photo, first work out why it is blurry. Motion blur and missed focus need an AI unblur tool that rebuilds crisp edges; a small, pixelated image needs an upscaler; a dark, noisy shot needs lighting correction. Using the right tool for the cause gives a far better result than applying more sharpening to everything.
This guide helps you diagnose the problem, choose between Unblur & Sharpen and AI Photo Upscale 4K, and know when a photo simply cannot be saved.
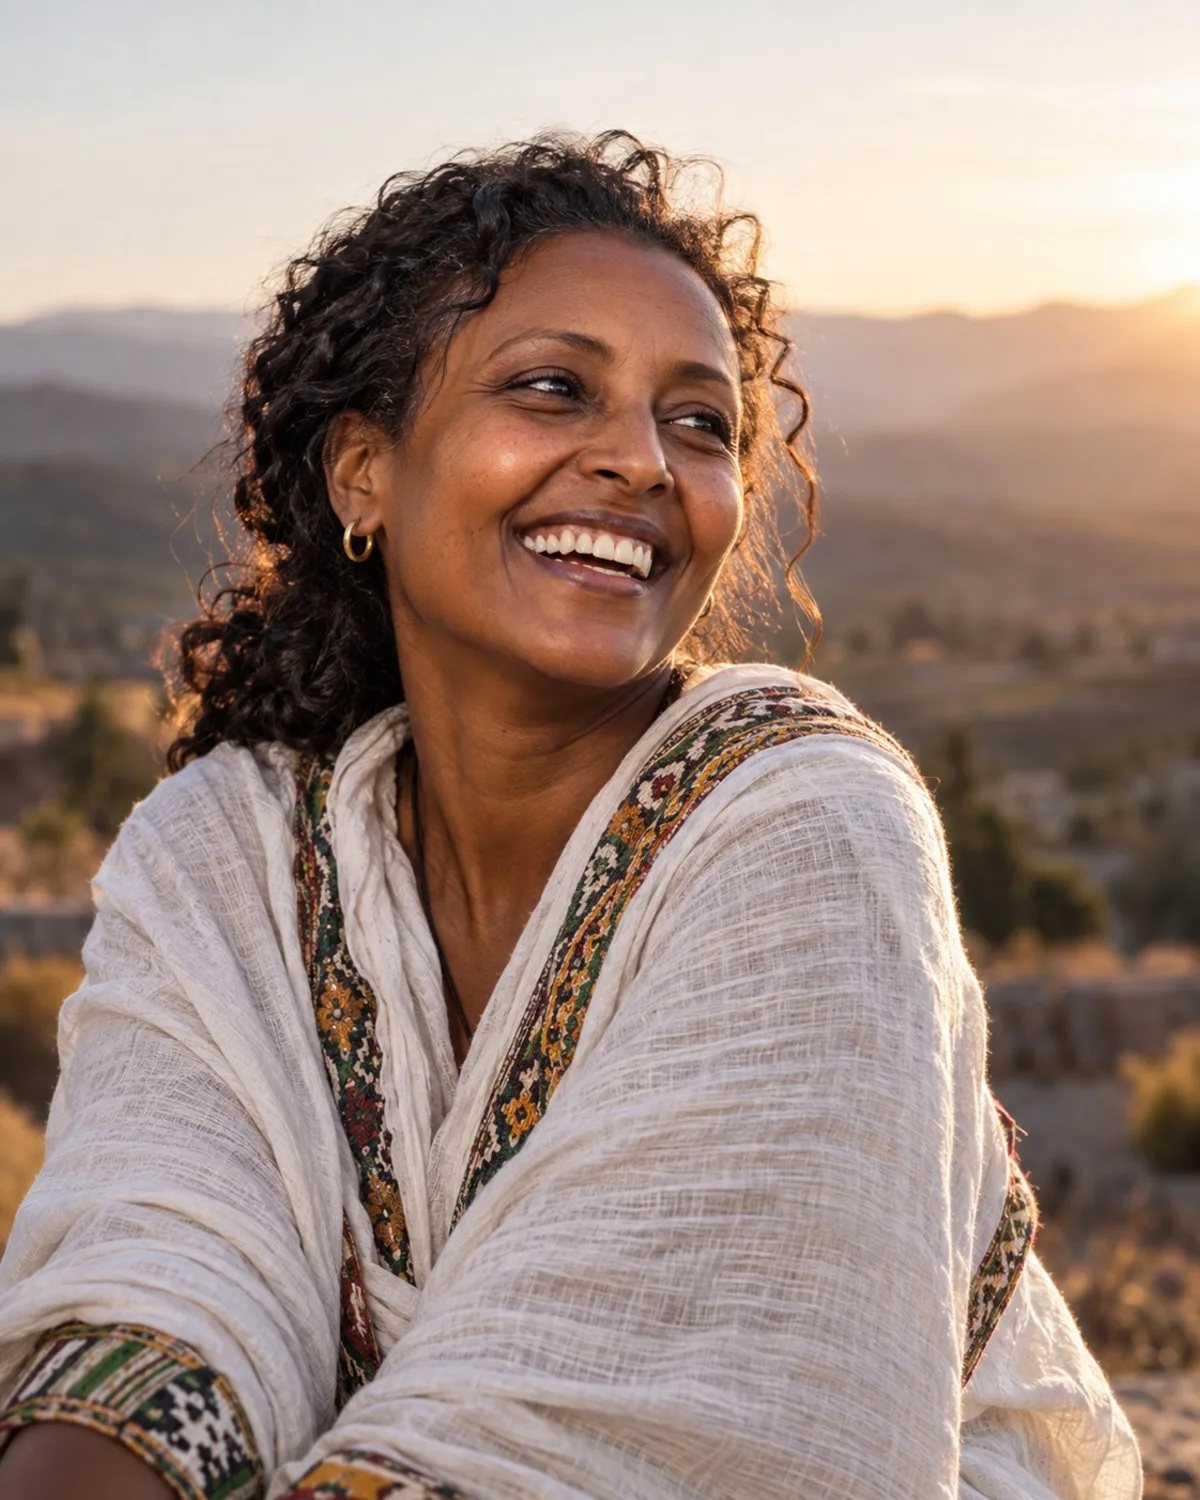
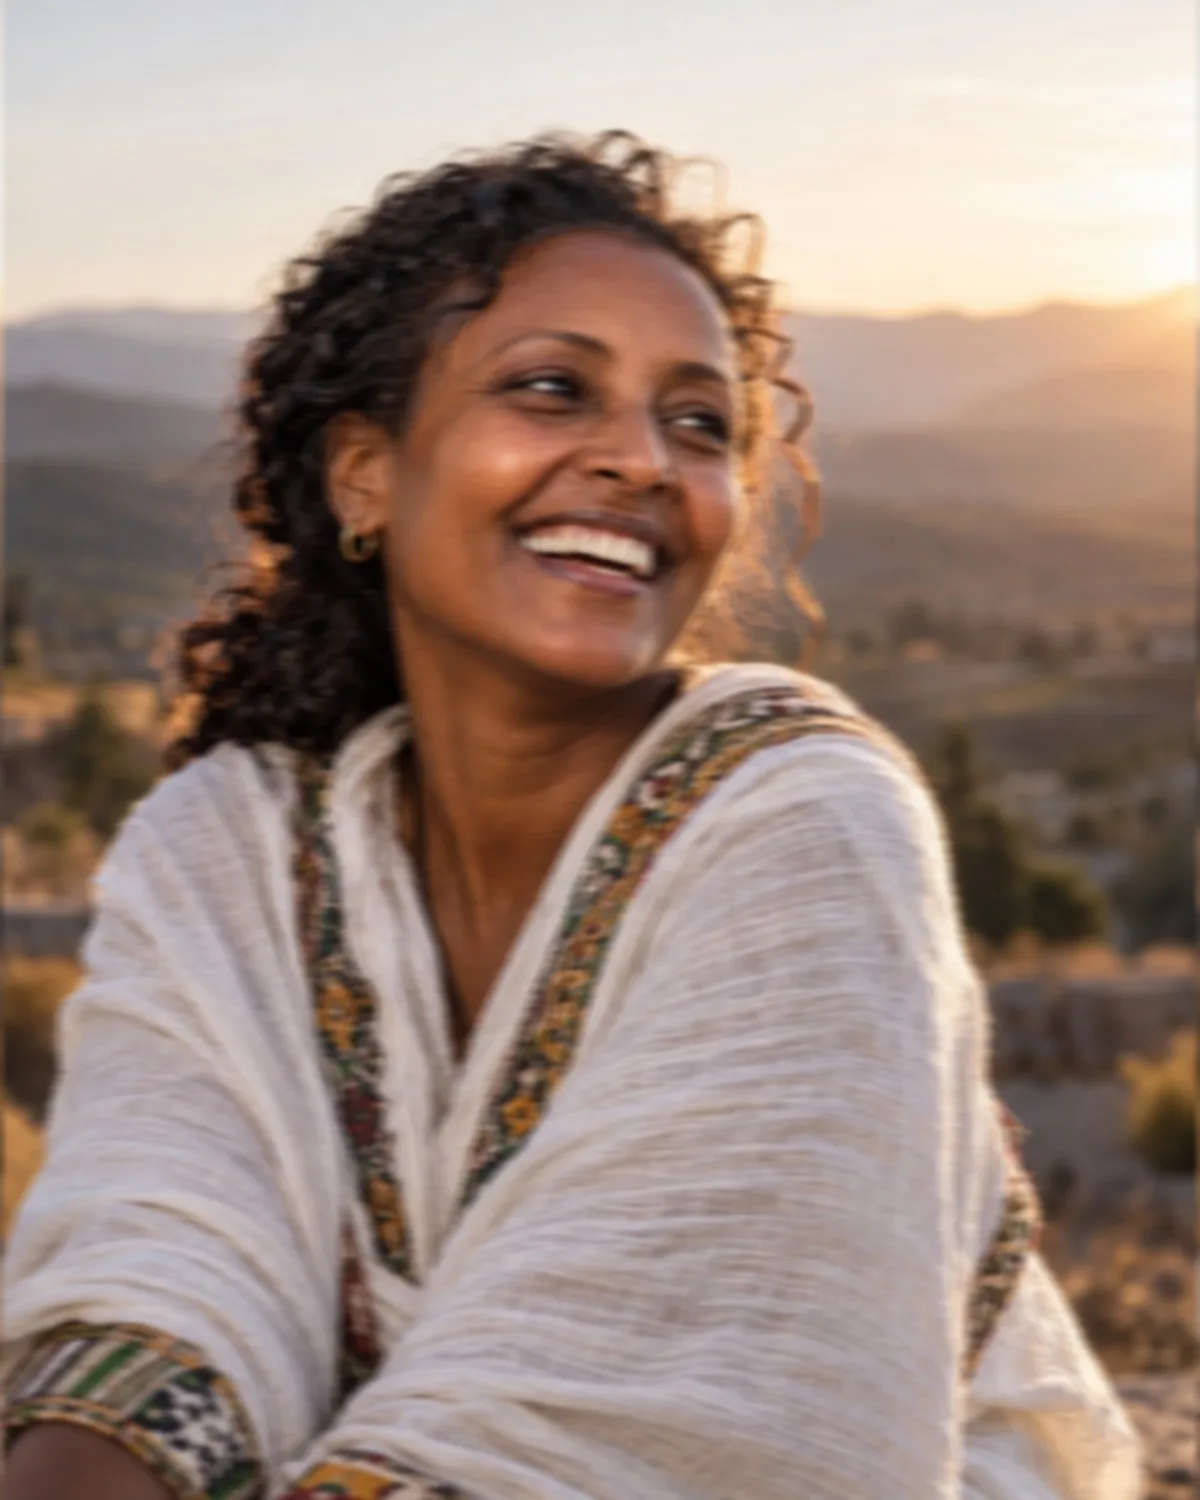
Diagnose the blur first
Zoom in on the photo and look at what is soft.
Motion blur
Edges are smeared in one direction, as if the image was dragged. This happens when the subject moved or the camera shook during the exposure, often indoors or at night.
Missed focus
Something in the photo is sharp, just not the right thing. The background brick wall is crisp, but the face is soft. Phone cameras do this when they lock onto a high-contrast area behind the subject.
Low resolution
The photo looks fine small but turns blocky or smudgy when enlarged. Edges show square pixels or compression artefacts. Common with old downloads, screenshots and images sent through messaging apps.
Low light and noise
The image is grainy, colours look muddy and fine detail is lost in speckles. It often looks blurry, but the real problem is light.
Which tool fixes which problem
| Problem | What you see | Tool to use first |
|---|---|---|
| Motion blur | Smeared edges in one direction | Unblur & Sharpen |
| Missed focus | Background sharp, subject soft | Unblur & Sharpen |
| Low resolution | Blocky, pixelated when enlarged | AI Photo Upscale 4K |
| Dark or noisy | Grain, muddy shadows | Lighting & Shadow Fix |
| Old, damaged print | Scratches, fading, soft detail | Old Photo Restoration |
Unblur vs sharpen: what is the difference?
Traditional sharpening increases contrast along edges. It makes a photo look crisper at a glance, but on a genuinely blurry image it creates bright halos and exaggerates noise without recovering detail.
AI unblurring works differently. Unblur & Sharpen rebuilds crisp edges on eyes, hair and fabric so the photo looks correctly focused, restoring natural micro-contrast rather than drawing outlines around everything.
Unblur vs upscale
Upscaling increases resolution. AI Photo Upscale 4K enlarges an image up to 4K, rebuilds fine detail in skin, hair and fabric and removes compression artefacts. It is the right fix for a small but otherwise focused photo. It is not designed to undo motion blur; enlarging a shaky photo just gives you a larger shaky photo.
Step by step
- Upload the original file. Avoid screenshots or copies sent through chat apps, which are usually compressed.
- Fix light first if needed. If the photo is dark or has a strong colour cast, run Lighting & Shadow Fix before sharpening. The lighting tool does not fix blur, but cleaner tones help the next step.
- Unblur if the problem is motion or focus.
- Upscale last if you need a larger file for printing or cropping.
- Compare at 100%. Check eyes, text and fine edges against the original before you keep the result.
Each step costs 1 credit, with 3 free credits for new accounts, and a failed generation is refunded automatically.
Tips that make a real difference
- One fix at a time. Running several tools in sequence is fine, but check the result after each one so you know what helped.
- Crop after, not before. Cropping tightly first leaves fewer pixels for the AI to work with.
- Faces deserve a close look. AI tools rebuild detail, so compare eyes and teeth with the original to be sure the person still looks like themselves.
- Old prints are a special case. Softness in a decades-old photo is often combined with scratches and fading; start with Old Photo Restoration instead. Our guide to restoring and colorizing old photos covers the full process.

Honest limitations
AI can rescue a lot of nearly-there photos, but not every photo.
- Heavy blur only improves partially. Unblur works best on mild to moderate blur. If a face is an unrecognisable smudge, the information is not there to recover.
- Small text is risky. Blurry licence plates, signs and documents may come back with letters that look plausible but are wrong. Do not rely on AI-sharpened text for anything important.
- Detail is reconstructed. Upscaling and unblurring rebuild natural detail such as pores and strands. It looks right, but it is a reconstruction, not a recovery of what the sensor captured.
If the moment can be repeated, retaking the photo with steadier hands, more light or a tap to focus will always beat any fix.
FAQ
How can I make a blurry picture clear?
Identify the cause first. For motion blur or missed focus, use Unblur & Sharpen. For a small, pixelated image, use AI Photo Upscale 4K. For a dark, grainy photo, start with Lighting & Shadow Fix.
Can AI upscale an image to 4K without losing quality?
AI Photo Upscale 4K outputs images up to 4K and rebuilds detail rather than stretching pixels, so the result is usually much cleaner than a standard resize. Start from the best original you have for the cleanest output.
Does upscaling add fake detail?
It reconstructs natural-looking detail such as skin texture and hair strands, while keeping the content and colours of the photo unchanged. That detail is plausible rather than recovered, which matters for text and evidence, but rarely for portraits and everyday photos.
Why is my photo still slightly soft after unblurring?
Very strong blur can only be improved partly. Try running Lighting & Shadow Fix first if the photo is dark, and use the original file rather than a compressed copy.